
Editor’s Note: We’re all dreaming of travel ahead. Here’s some inspiration for future adventures. We share places, products and activities we recommend. If you make a purchase using a link on our site, we may earn a commission.
Ever since cycling happened in my life, I’ve become fascinated with long-distance cycling. From exploring my city’s neighborhood to doing multi-day bike touring in India and abroad, I have fallen in love with bikepacking trips.
From Bombay to Lonavala, Guwahati to Shillong, to biking in Thailand and Vietnam and conquering the mighty Himalayas, I have done it all and can’t wait to ride more and explore new places.
In recent days, I’ve noticed more and more cyclists and travelers are choosing to explore places on a bike ride, and that is why this blog post happened. It will guide you through basics in making your first multi-day bikepacking adventure an awesome experience.
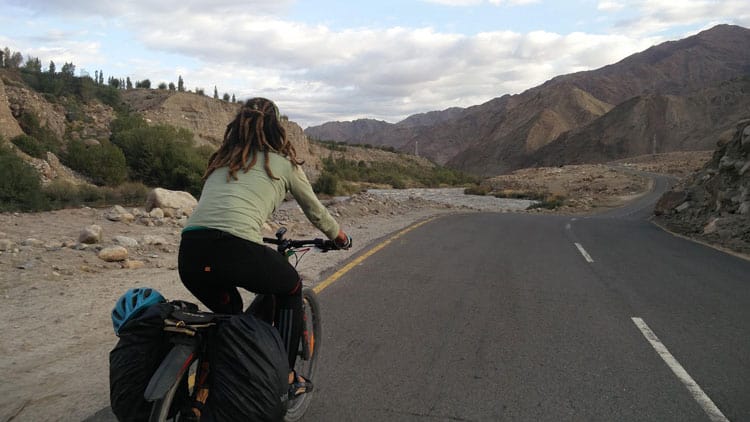
Bikepacking Tips: Channelling Physical and Mental Fitness
It is a popular saying that no specific amount of physical training is good for touring on a bicycle because it isn’t a race, it’s your ride, and you don’t need to rush through. However, anyone who has been cycling regularly and is comfortable on a saddle for a long day or duration is physically fit for the ride.
Like I always say, it all comes down to your mental strength in the end. It is very rare for your body to give up; it is generally your mind that gives up while on a biking tour. The heat, hardship, not able to find food or a place to stay, water sources, unfriendly roads and many more things take an instant toll on your mind and it starts doubting your own capabilities.
You need to be really strong-headed to be able to complete the ride and you need to have control over your emotions where it’s a long day or your standard day trip. Here are some bikepacking tips that will keep you mentally strong and control your emotions during the bike ride.
- Understanding your route and terrain makes you a lot more confident for the bike ride.
- Small things like being able to repair your bike, having camping gear to camp, and having enough food and water to survive also make you mentally strong.
- Be euphoric and proud of even thinking of going on a multi-day bike tour. Not many people in the world would do that. It is the biggest first step toward a lifetime adventure you are about to experience. Not many get to take that first step in even considering a bikepacking trip.
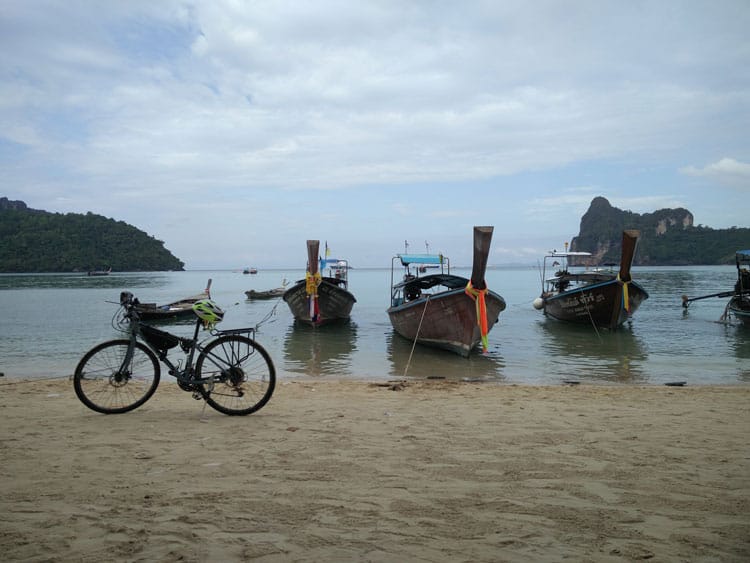
Choosing the Right Mountain Bike for a Bikepacking Trip
The most important thing about touring is choosing the best bike, the gears, dry bags and all its accessories. For short bikepacking trips of less than two-three weeks, any decent mountain bike is good. But for anything longer than that, you should have a steel bike, which is sturdier and helps you with better balance for touring.
I have toured places mostly on Trek Bikes and can instantly vouch for them. Trek entry-level MTBs (Marlyn Series) and Hybrid bikes (Fx series) are great for touring with good geometry and reliable spares. However, my heart always goes on to Trek 520d, an entry-level steel bike, made specifically for touring.
Rear Rack
I have used the rear rack from XMR and Decathlon over the period. The rack from XMR is available online on HappyEarth and at Track & Trail stores across India. The rack is well built, can take weight up to 25 kilograms (55 pounds), the joints are nicely welded and it fits with almost every bike and waterproof pannier bag.
The rack available in Decathlon has issues with weights and has problems with joints and connecting screws. They break down pretty often and easily.
The Best Pannier Bags for Biking
I’ve used pannier bags by Viaterra and Decathlon and both have pros and cons. The Viaterra bag has a capacity of 25 liters(6.6 gallons), has several pockets on the outside and inside, comes with bungee cords on top and has an extendable opening cover. It helps you stay more organized, stores more while you tour for longer days, and carries more bottles of water.
The downside is the mechanism by which it holds on to the rack. It isn’t very sturdy when compared with the Decathlon bags and it isn’t waterproof. However, the Viaterra bag comes with a rain cover, which is good enough.
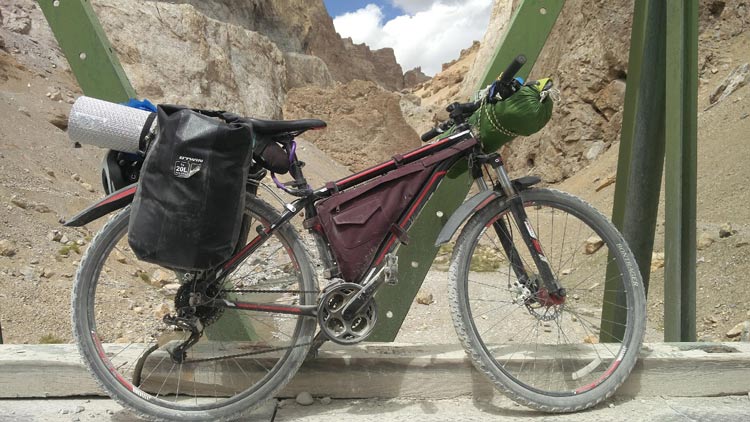
On the other hand, the Decathlon pannier bag holds 20 liters (5.2 gallons), is waterproof, holds the rack perfectly with not even slight movement through obstacles, and is easy to open and close. The downside, however, is it has no pockets.
I have used both and felt more comfortable with the Decathlon bags for short tours and the Viaterra bag for longer tours. Both are priced at 3000 rupees (about $40) and 4500 rupees (about $60) for pairs, respectively, and are available on Decathlon and HappyEarth.
Frame Bag and Backpacking
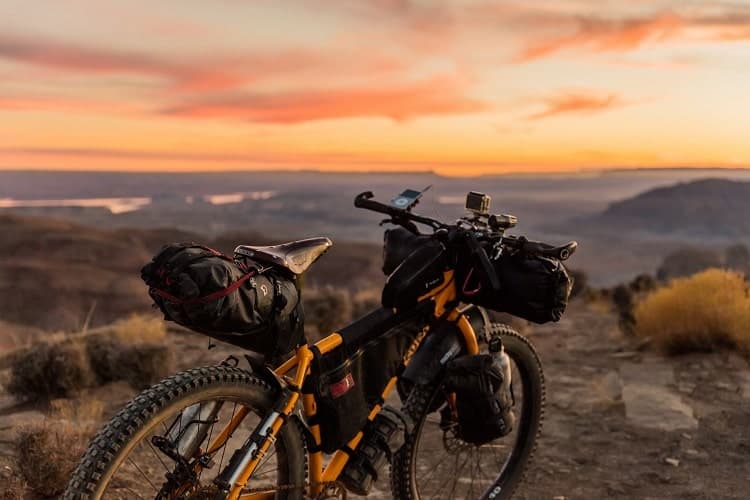
There are several frame bags available in the market but most of them are smaller in size. My friend Kate guided me with a DIY frame bag that is good enough to store all your go-to things and covers the entire frame space. Here is the frame bag that I made for myself, and probably you can do it, too. It isn’t that difficult after all.
Know Your Bike
The foremost important thing during the ride is to know all about your bike and its mechanics. Knowing the following will definitely be of great help during the ride and will also make you mentally strong:
- Practice repairing a flat tire and replacing tubes.
- Know how to change or remove the chain links.
- Know how to adjust and change brake/gear wires.
- Learn how to change spokes without using the spoke tools. (It’s a jugaad.)
Beyond this, here is a list of spares and multi-tools you should definitely carry:
- Two sets of spare tubes, puncture repair kit and hand pump.
- One set of spare chain links and chain link removal tool.
- Basic bicycle tool kit.
- Spare spokes (2 pieces).
- Break/gear wires (2 pieces).
- Commonly used extra screws and nuts.
- Machine oil or any lubricant. I personally prefer machine oil over anything else.
Pro tip: Make sure your tubes are matched with your bike; it is preferable to carry tubes with a thicker nozzle.
Understanding Your Bikepacking Route:
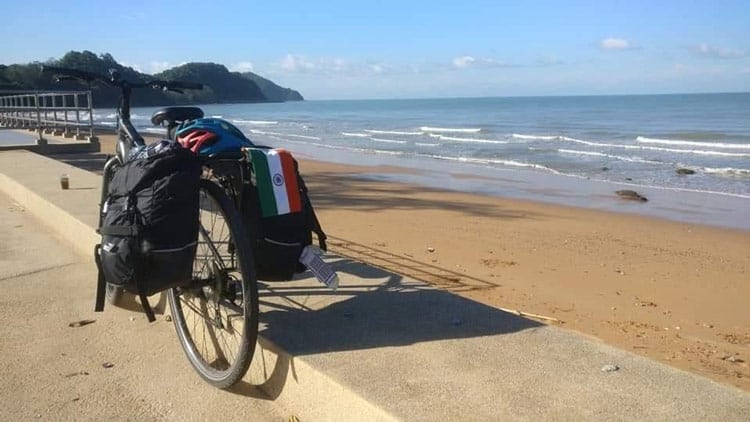
We need to understand that while we are on a multi-day bicycle tour, understanding your route and places you will be crossing is of utmost importance. It will make your life easier. If you know your route well, you will be more equipped to deal with crises, and you would know places where accommodation, food and support are available.
Therefore, it is advisable to have some basic plans with destinations for night stays pre-identified, and also important to understand every place on the way where you will find places to stay or eat at a minimum.
Things to Carry on a Bikepacking Trip
- Clothes: Cycling shorts (2), jersey/dry-fit T-shirt (2), cotton shorts (1), cotton T-shirt (2), towel (1), socks (2), running shoes (1), cap (1), woolen gloves (1), underwear (2), fleece (1), raincoat (1), swimming trunks (1)
- For cold places: Thermal top (1), thermal bottom (1)
- Spares and tools: As mentioned above
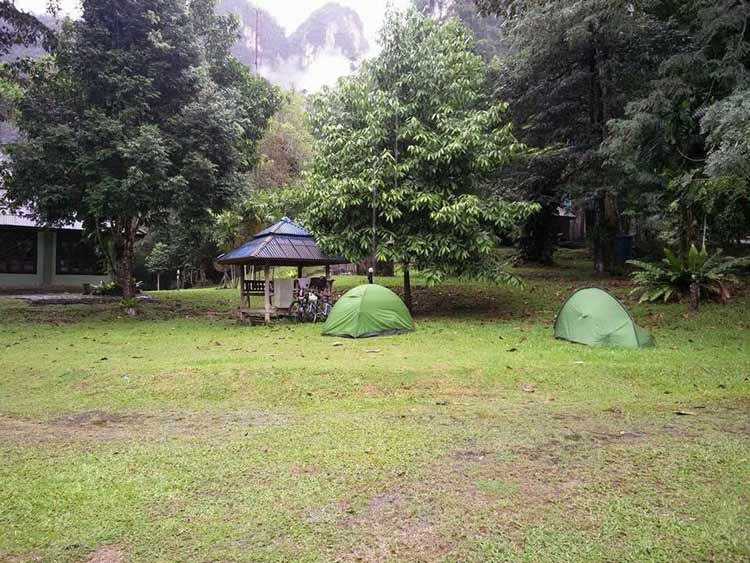
- Camping gear: Tent, sleeping bag, sleeping mat, thermos
- On bike: Headlight, tail light, pannier bags, rack, frame bag, saddlebag, bungee cord (3), bottle (2)
- Cooking gears and food: Stove, butane gas, burner adaptor, utensils, bowl (1), fork and spoon. On food side: Oats, dry fruit, milk powder, sugar, tea and coffee (only if you like starting the day early without disturbing others)
We need to try and keep an average total weight of 20 kilograms (44 pounds)on the bike distributed evenly in the rear pannier bags, frame bag and on the handlebar.
Pack Wisely and Ultralight
Not many would understand the importance of packing if you haven’t been on a bicycle tour before. I have traveled through Thailand, Vietnam and places in India on my bicycle and have learned over time that packing your belongings wisely is the most important thing for any bicycle tour. It not only keeps you less messy but also helps a lot with the ride, pace and balance.
Here are a few things I consider while bikepacking:
- Frame bag should have the entire go-to thing you would need like money, gloves, camera, mobile phone, food, etc.
- Both the pannier bags should weigh the same for a good balance.
- One of the pannier bags should have things you use less, while the other one can have more regular things. It helps you with being less messy.
- If you don’t have front bags, do have some weight on the front while climbing or downhill for the right balance and control of your bicycle.
- Solar chargers should be kept on top as you will be using them while riding for charging the batteries. The best place is on top of the rack.
Bikepacking Tips and Navigation for Bikepackers
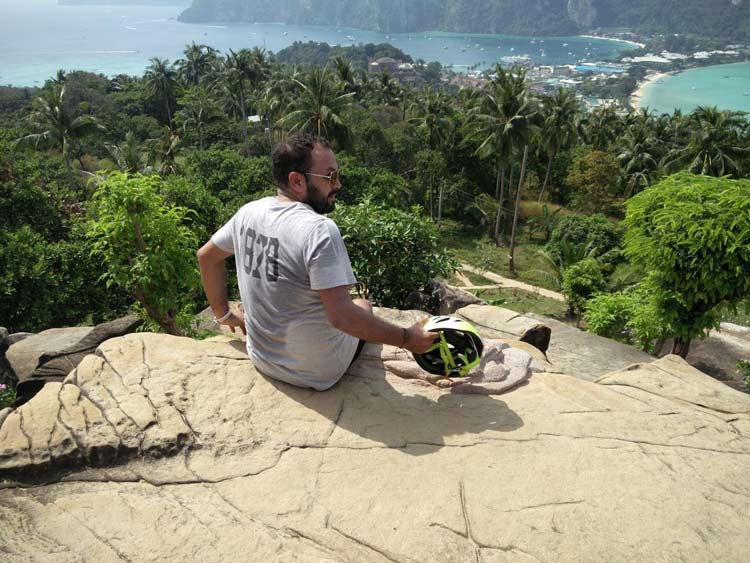
I generally download the maps of the place where I’m traveling or use Maps.me for offline uses and to save battery. Maps.me is an open-source map with extensive detailing by other travelers and also helps in avoiding freeways and busy roads.
It would take us through roads lesser-used to farmlands and at times next to waterfalls and national parks. I also have a habit of carrying paper maps, which is just too fun and has that old-school charm.
Author’s Bio: For Kanishka Poddar, traveling has always been the balancing factor in the juggle between work and life. He earned his master’s from IIM, Ranchi and ran a design studio for men’s ethnic wear under the brand Mulberry Lifestyle. The products are sold across the world through online marketplaces and exhibitions. His story as a bikepacker starts in 2015 when he bought his first single-geared bicycle with the idea of getting fitter and make it part of his daily life by doing errands, riding to work and more. Over the months, cycling became his yoga and his meditation.
- Why the Kimberley Should Be Your Next Australian Adventure - July 5, 2025
- How We Finally Afforded Our Dream Trip to the Swiss Alps (And You Can Too) - July 5, 2025
- Escape Manhattan for Governors Island - July 5, 2025
